

Humanoids has developed a new installation tool for an agricultural robot. To make programming the robot more 'human', our own UX designers designed an app in which routes can be drawn using touch gestures on the screen of an Android or iOS tablet. We'd like to take you through and tell you how our development team turned this design into a reality.
The technical core of touch-based drawing
Because we wanted to ensure support for both Android tablets and iPads, our development platform choice quickly fell on React Native. However, drawing routes through touch gestures on tablets is not a common feature of apps, and certainly not a stock feature of React Native. This meant that our development team had to get creative with combining existing Node modules and React Native features to achieve the desired functionality.
Integrating 'the human touch'
React Native comes with the so-called 'PanResponder' - a feature that allows it to recognize different types of single- and multi-touch gestures on the tablet screen and thus associate them with different visuals on the tablet screen.
Naturally, touch gestures from the end user had to be visually reflected - in our case, we visualized a newly drawn route through lines and circles of different sizes.
React Native SVG: Turning touch into sight
For the visual representation of touch gestures, we used React Native SVG. This is a module that allows us to generate and place in React Native, dynamically selectable SVGs using specified coordinates. And not just any coordinates - we generate these coordinates through user interaction with the tablet screen. Briefly, a horizontal touch gesture of a single finger moving 20 pixels from left to right told React Native SVG to generate a line segment 20 pixels wide, starting at the first touch on the screen, and ending where the finger released the screen. For more on SVGs, read our blog on SVGs in conjunction with React Native.

The 3 primary touch 'states'
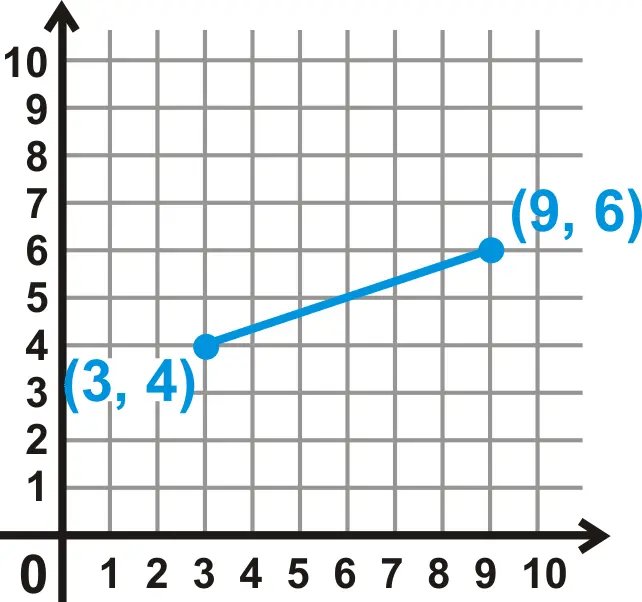
To accurately visualize which lines have already been drawn, it was important to store route data in so-called 'states'. These are variables that contain data and can be updated in React Native to trigger visual changes on the screen. In the case of route drawing, this involved three primary states, each containing coordinates that are important for visualizing route lines. We defined these coordinates in a Cartesian system, consisting of an X and Y axis. As an example, a line is defined in this system by two points, each consisting of an X and Y coordinate, which are connected by a straight line.
Now that it is clear how we define line segments in React Native, we will now move on to the different ways we add and store these line segments in different states. The 3 primary states consist of:
1. lines
This state contains the coordinates that React Native SVG reads to generate SVGs of already drawn lines.
[{"x1": "number", "y1": "number", "x2": "number", "y2": "number"},{"x1": "number", "y1": "number", "x2": "number", "y2": "number" }]
2. lineStart & lineEnd
These two states are filled by touch information generated when the user touches the screen during drawing (lineStart) at a given coordinate, and when the user releases the screen (lineEnd).
{"x": "number","y": "number"}
3.projectedLine
The lineStart and lineEnd states come together in this 'projectedLine' state. This state visualizes the most current line which is drawn when the user swipes over the drawing canvas.
{"x1": "number","y1": "number","x2": "number","y2": "number"}
React Components for walls and lines
Now that it has been described how route lines are visualized and how touch interaction is combined with them, it is time to look at how these elements are combined in React components and the character screen. Our sign screen contains three primary React components:
1. The "wall" component.
To draw routes on an existing floor plan, it is important to visualize walls. To visualize a floor plan of an existing space, we use GeoJSON: a standardized format for capturing geographic data in the JSON file type. This format contains an array which contains a collection of line segment objects. Using the '.map' Array method, we generate a line-SVG for each wall segment via React Native SVG. As a whole, this results in 1 component that visualizes and locates all walls at exact geographical coordinates, and to scale - ideal!
2. The "projection line" component.
This component temporarily becomes visible in light purple when the screen recognizes a character touch gesture.
Through React Native's 'useEffect' hook, this projection line is updated whenever the finger coordinates on the screen change even 1 pixel - this way, all visuals stay current! However, when your finger moves multiple pixels per millisecond, the tablet has to read and execute this code tremendously fast - we quickly found that we were running into the tablet processor's limit. To relieve the tablet processor and maintain optimal Frames Per Second, we used Lodash's throttle feature. Throttle limits how many times per millisecond a function can fire, and thus it could help in saving processor load on the tablet.
When the user finishes drawing a new line and lets go of the screen, the last known coordinates of this projection line component are added to the lines state (Remember? The array that contains the collection of lines already drawn), after which the projection line component is emptied and disappears - it has now been renamed an "official" drawn line component, so to speak!
3. The 'lines drawn' component.
To show the user which route lines have been drawn so far, it is important to visualize the already drawn lines, stored in the lines state. This component visualizes in light gray these already drawn route lines. Exactly as visualizing walls goes, we use the '.map' array method - but now applied to the array in the lines state.
Smart drawing & wall interaction
Our UX-ers came up with several 'smart' drawing features, which make it easy for users to draw routes that are parallel to (diagonal) walls, or that stop when they are about to draw through a wall. To achieve this, our development team has devised a method that continuously checks during touch gestures whether the coordinates of the route line-in-word show properties of a nearby wall segment. For example, it checks whether the relative distance of the route line and the wall segment, or the angle of route line and wall segment match. When this is the case, the app intervenes, and "snapped" the route line parallel to the wall segment in question. In this situation, the coordinates, and thus the angle, of the drawn line are adjusted based on the coordinates and angle of the nearby wall segment.
Similarly, during a touch action, the app also checks whether the route line-in-progress crosses a specific wall segment. To prevent the robot from attempting to drive through a wall and to help the user draw a precise route, the app recognizes this situation: the intersection of the route line and the wall segment is calculated and the route line is shortened until it is an appropriate distance from the wall segment.
A successful route
We hope you learned something through this article and got a basic idea of our setup for route drawing via touch gestures on a React Native tablet application. Do you have more questions about this setup, or maybe you think: this can be done in a better way! Be sure to let us know!